Fixing Parquet Flooring: Complete Guide on Maintenance and Restoration
September 26, 2025
When we first started working with wood floors, we quickly realised that parquet flooring is a unique gem. Its geometric patterns and natural beauty make any room stand out, but it also requires careful attention. Over the years, we’ve learned how to handle parquet flooring restoration and fixing parquet flooring issues with confidence, and we want to share these tips with you.
Understanding Parquet Flooring
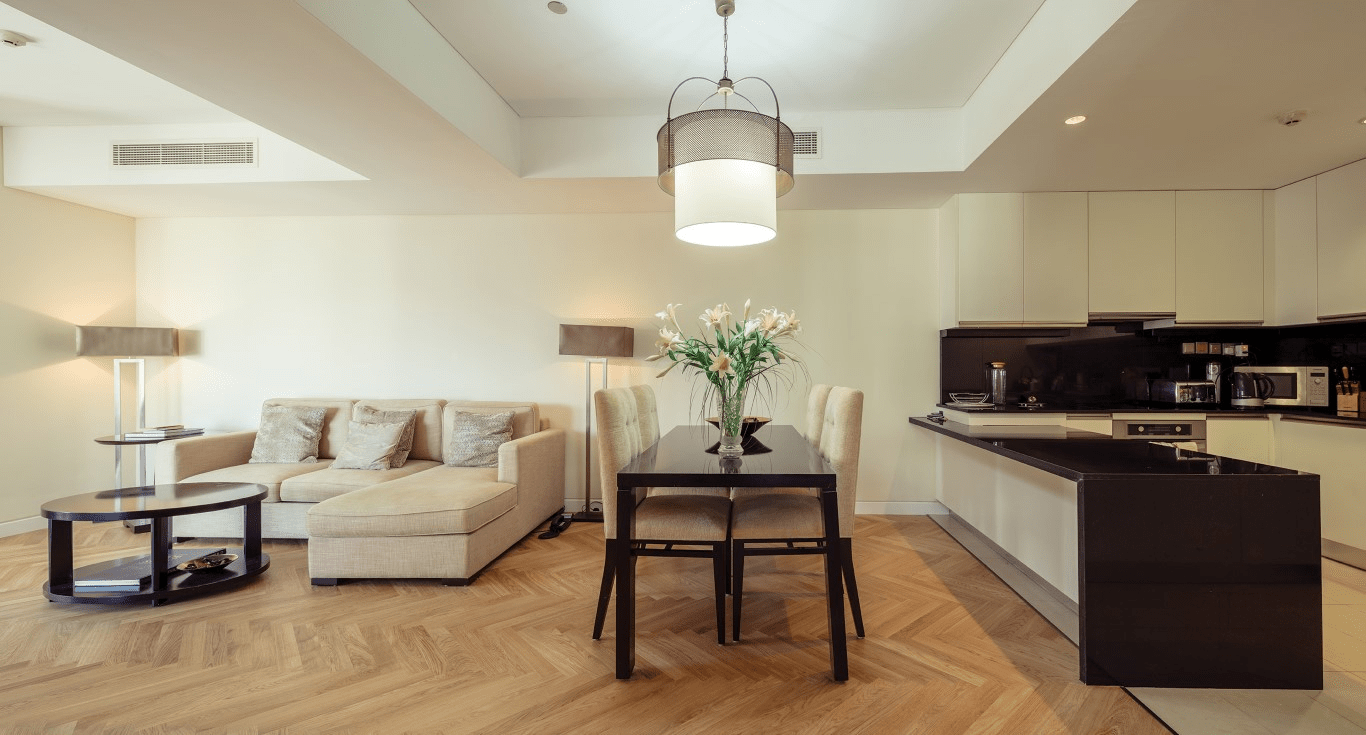
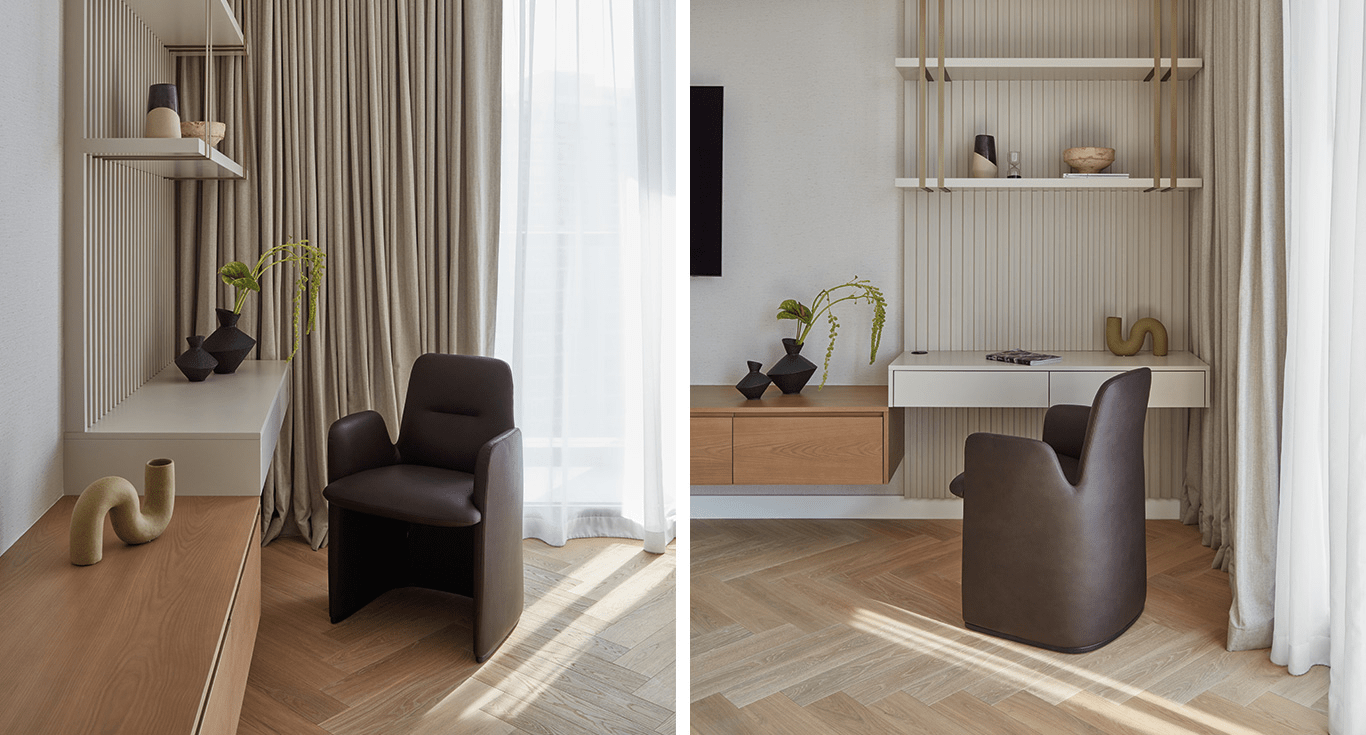
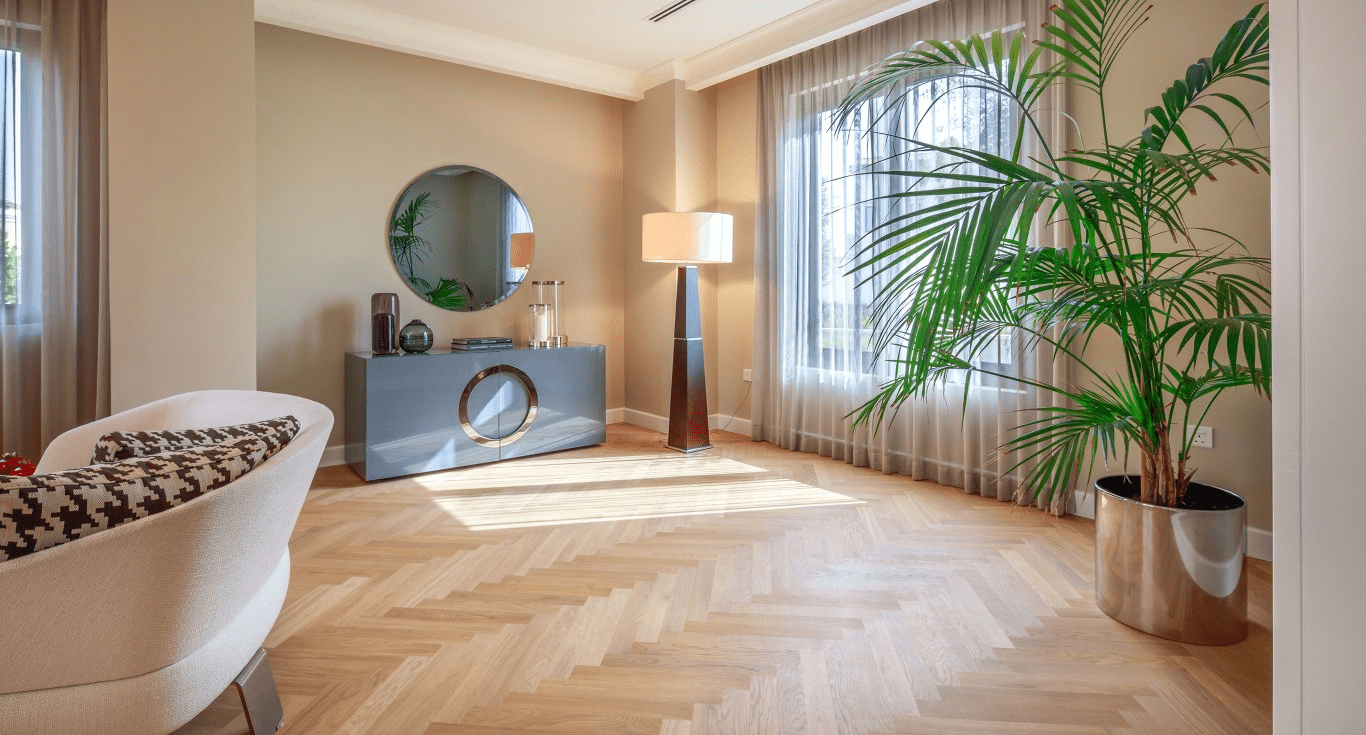
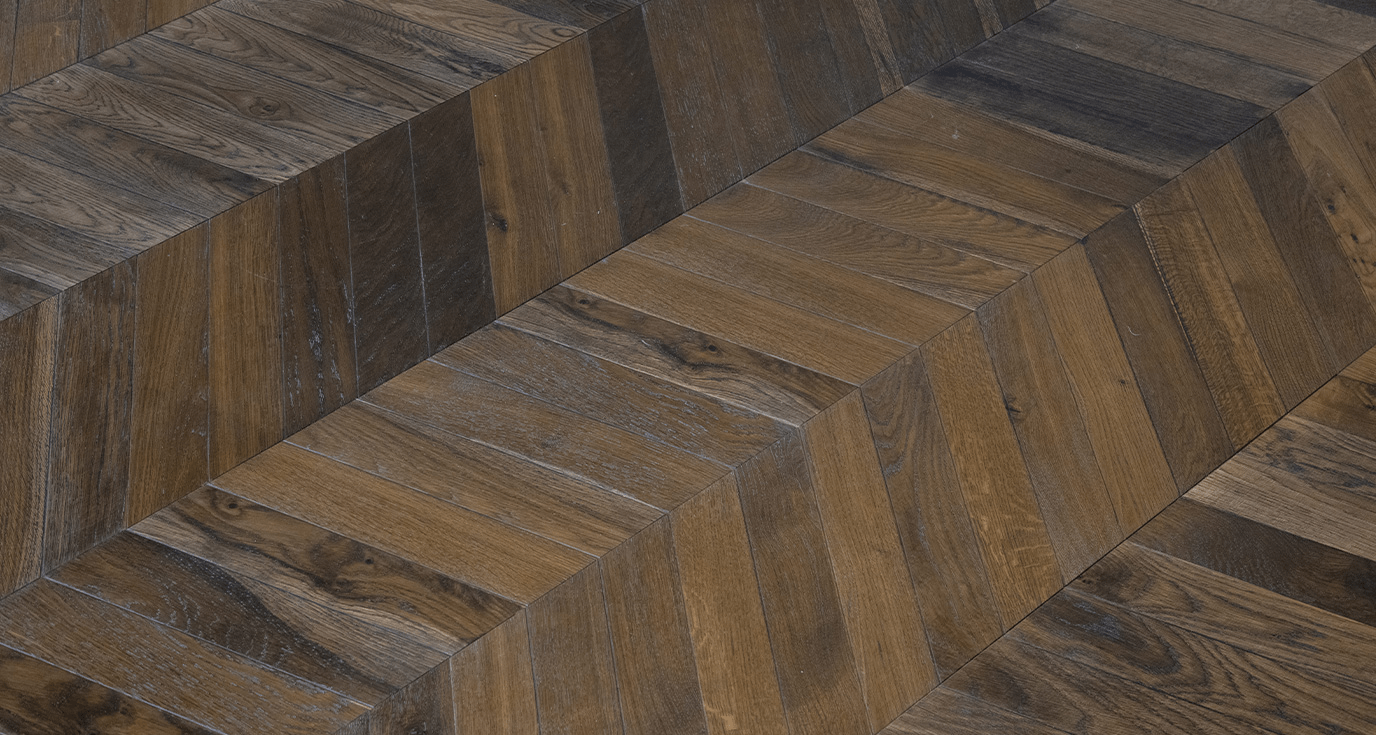
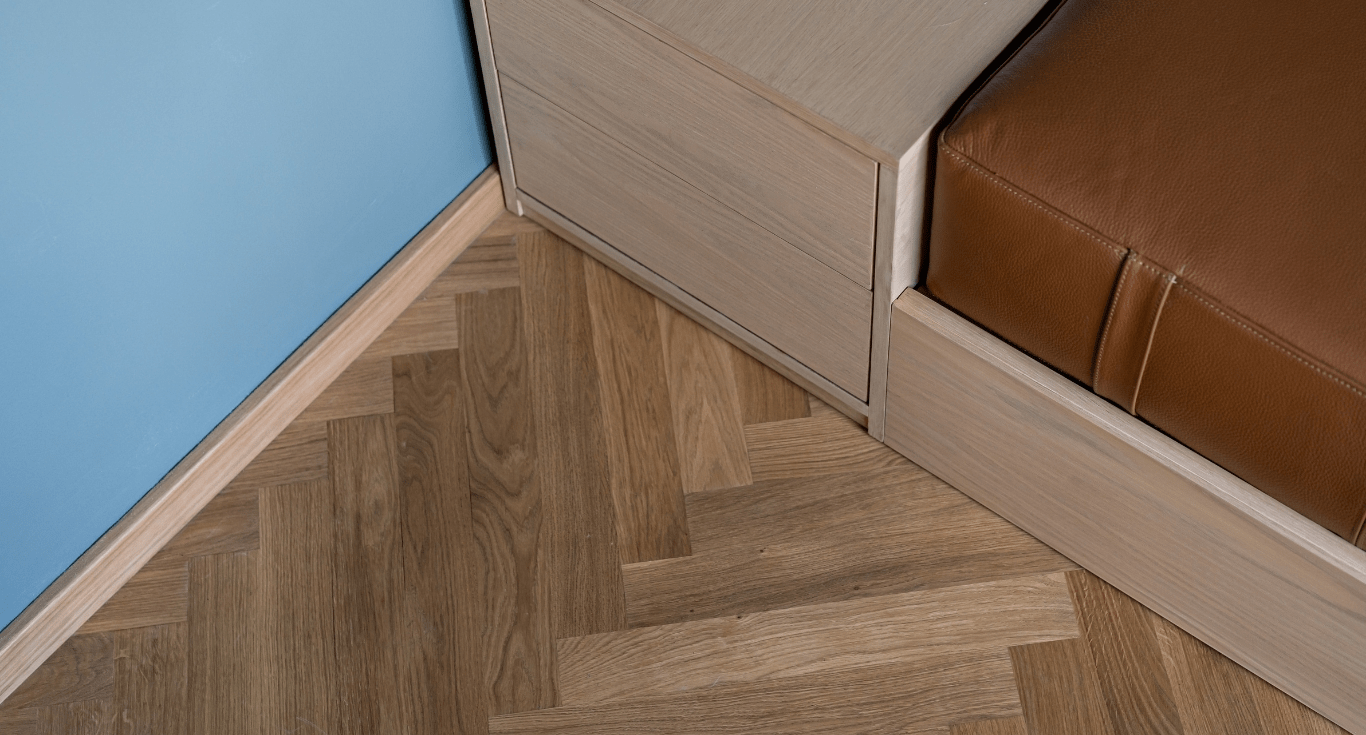
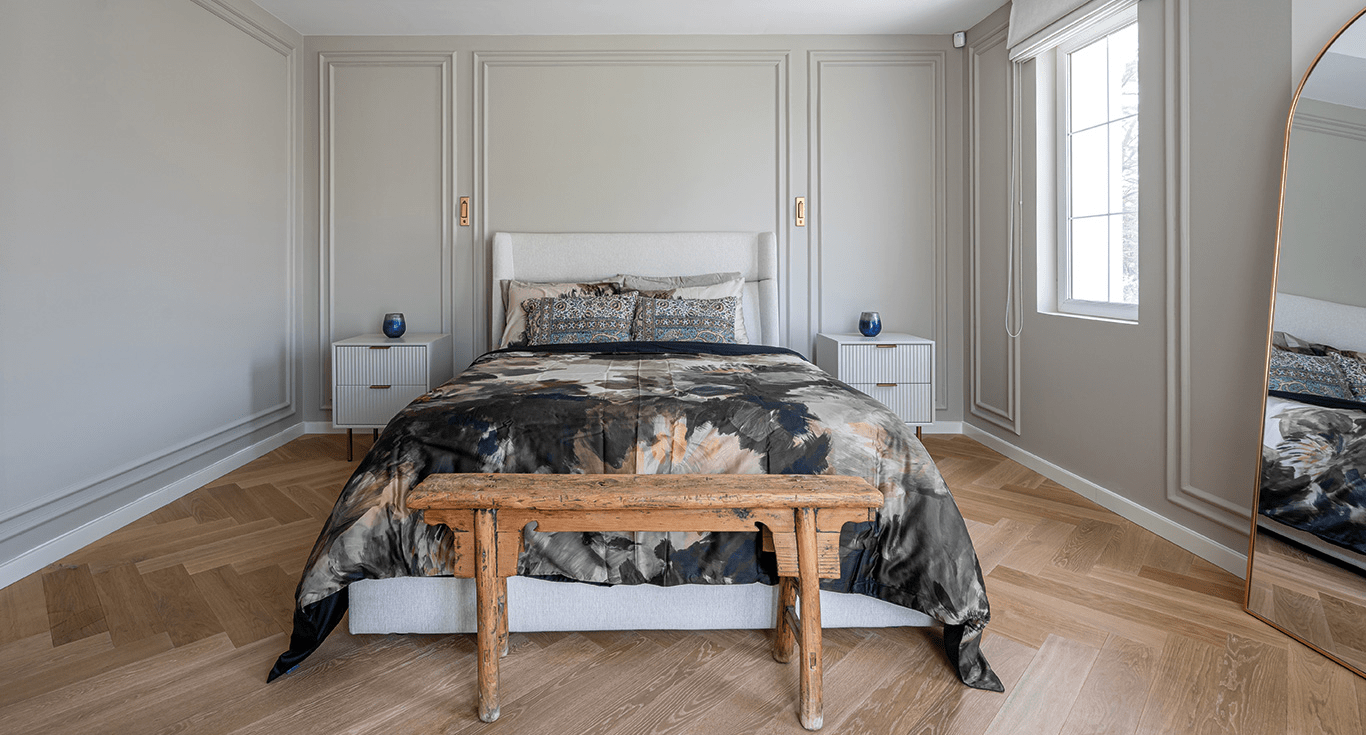
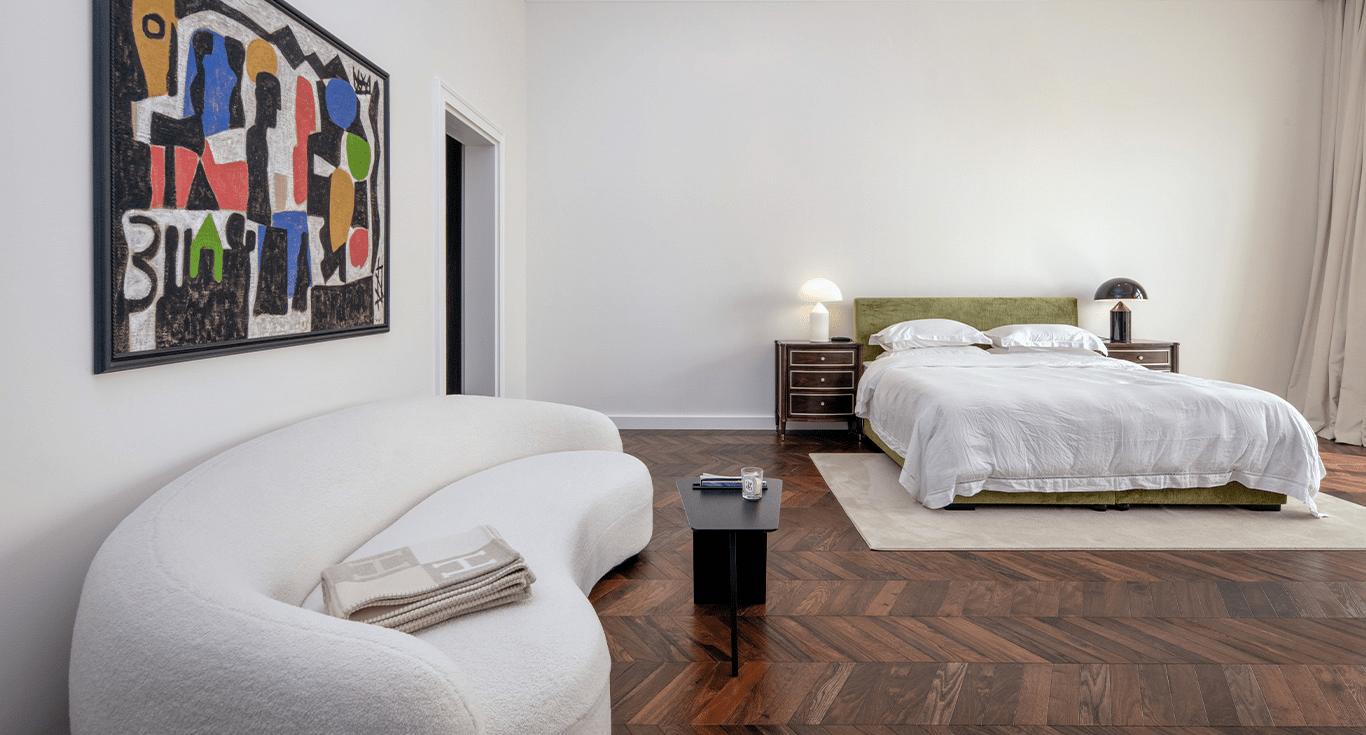
Parquet flooring is composed of small blocks or strips of wood arranged in patterns such as herringbone, chevron, or basketweave. The appeal lies in its intricate design and long-lasting durability. However, due to its composition, it is more susceptible to damage from moisture, heavy furniture, and everyday wear.
Maintaining parquet flooring is not just about cleaning. It is about preserving its structure, addressing minor damages before they escalate, and knowing when to call in professional restoration.
Assessing the Condition of Your Parquet Flooring
The first step in fixing parquet flooring is a thorough inspection. Walk across the floor and note any loose or lifted blocks, squeaks, cracks, or signs of discolouration. Water stains and warping may point to deeper damage that requires immediate attention. Prolonged sun exposure can also cause noticeable fading or uneven colour patches, which may require sanding or professional parquet flooring restoration to correct.
Identifying Problem Areas
Blocks that feel uneven or move under pressure are usually the first indicators of damage. These signs should not be ignored, as they can spread and affect the surrounding blocks. Addressing them early makes the repair easier and prevents the need for more extensive parquet flooring restoration later on. Small gaps can be treated quickly with basic repairs and regular maintenance.
Larger issues, such as widespread water damage, loose sections, or deep cracks, often require a more advanced approach. In these cases, a call for parquet flooring restoration by professionals is recommended to prevent further deterioration and maintain the floor’s long-term strength.
Gathering Tools and Materials
Before fixing parquet flooring or restoration, it’s best to prepare the right materials and tools. Having these ready makes the process smoother and more efficient:
- Replacement parquet blocks – Used to swap out damaged or missing pieces and maintain the original pattern.
- Wood glue or adhesive – Secures loose or lifted blocks back onto the subfloor.
- Putty knife or scraper – Helps lift blocks carefully and remove old adhesive or debris.
- Hammer and nails – Useful for securing loose edges or tightening areas near the skirting.
- Wood filler or epoxy resin – Fills small gaps, cracks, or chips to restore a flawless surface.
- Sandpaper or sanding block – Smooths repaired areas and prepares the surface for refinishing.
- Protective finish or sealer – Provides a durable layer that enhances the wood’s beauty and guards against wear.
- Safety gear (gloves, goggles, and dust mask) – Protects hands from sharp tools, eyes from debris, and lungs from dust during sanding and repairs.
Fixing Parquet Flooring: Loose or Damaged Blocks
Loose parquet blocks are common in older floors, but with the right approach, fixing parquet flooring in these cases is straightforward.
1. Lift the Affected Block
Use a putty knife or scraper to carefully lift the loose block. Work gently to avoid damaging the surrounding parquet pattern.
2. Clean the Subfloor
Remove any old adhesive or residue left behind on the subfloor. A clean surface is essential for ensuring the block bonds securely when reattached.
3. Apply Wood Glue
Spread a strong wood glue evenly on the underside of the block. This step is crucial for long-lasting parquet flooring restoration.
4. Press the Block in Place
Position the block back into its original spot. Apply firm pressure and place a weight on top until the glue sets completely.
5. Replace if Beyond Repair
If the block is damaged beyond repair, cut along the joint lines, remove it carefully, and replace it with a new block that matches the existing pattern.
These steps ensure loose or damaged parquet blocks are restored seamlessly, maintaining both the durability and visual appeal of the floor.
How to Fill Gaps and Cracks
Over time, parquet flooring may develop small gaps due to the natural expansion and contraction of wood. These gaps not only affect the appearance but can also compromise the stability of the flooring if left untreated. Parquet flooring restoration is a straightforward process that helps maintain both beauty and durability.
1. Identify the Gaps
Check for spaces caused by the natural expansion and contraction of the wood. Even small gaps should be addressed early to prevent them from widening.
2. Select a Matching Filler
Choose a wood filler or resin that matches the colour and tone of your existing parquet flooring. Using the right product ensures that the parquet flooring restoration work looks seamless and natural once completed.
3. Apply the Filler
Use a putty knife to press the filler or resin into the gaps. Spread it evenly to make sure the entire space is filled without leaving air pockets.
4. Allow to Dry Fully
Give the filler or resin enough time to dry and harden completely. This step is essential for long-lasting stability.
5. Sand the Surface
Once dry, sand the repaired area lightly to level it with the rest of the floor. This creates a smooth, consistent finish across the surface.
By following these steps, you can ensure that the gaps are filled effectively, blending perfectly with the rest of the floor. This simple parquet flooring restoration process not only enhances the overall look but also strengthens the flooring for long-term use.
Tips on Sanding and Refinishing
When regular cleaning is no longer enough, sanding and refinishing become essential parts of parquet flooring restoration. This process not only refreshes the look but also protects the wood for years to come.
1. Inspect the Floor
Check the surface carefully to confirm that sanding and refinishing are needed. Widespread scratches, dullness, or uneven wear are clear signs that restoration is required.
2. Sand Along the Grain
Sand the parquet surface gently, always following the natural direction of the wood grain. This prevents damage and ensures an even finish.
3. Remove All Dust
After sanding, clear away every trace of dust. A completely clean surface is essential for achieving a smooth and flawless refinishing.
4. Apply a Protective Finish
Spread a protective finish evenly across the parquet. Allow it to dry fully to form a strong barrier against future wear and damage.
A well-executed refinishing does more than repair wear; it creates a strong protective layer that keeps parquet flooring beautiful and resilient well into the future.
Why Professional Installation Matters
When it comes to fixing parquet flooring or carrying out parquet flooring restoration, the foundation of longevity always starts with the installation. A poorly installed floor is more likely to develop issues such as loose blocks, gaps, or uneven surfaces that eventually require repairs.
When parquet flooring is installed by skilled professionals, the need for major restoration work is reduced, and maintenance becomes far easier. Here’s why it makes such a difference:
- Proper subfloor preparation – Professionals ensure the subfloor is level, dry, and clean, preventing future issues like lifting or uneven surfaces
- Correct adhesive application – They use the right techniques and materials to secure blocks firmly, reducing the risk of loose or shifting pieces.
- Precision in pattern alignment – Complex designs like herringbone or chevron are laid accurately, which reduces stress on the blocks and keeps the floor stable.
- Durable finishing techniques – Experts apply protective finishes evenly, enhancing resistance to scratches, stains, and everyday wear.
- Long-term savings – A professional installation minimises future repairs and the need for frequent parquet flooring restoration.
By ensuring that parquet floors are laid correctly from the start, professional installation reduces the likelihood of costly fixes later. This means any future parquet flooring restoration focuses more on refreshing the wood’s beauty rather than correcting structural mistakes.

Keeping Parquet Floors Beautiful for the Long Term
Fixing parquet flooring requires patience, attention to detail, and the right techniques. Simple repairs such as filling gaps or replacing a loose block can often be done at home, while larger restoration projects are best handled by specialists.
It is also important to remember that consistent care goes hand in hand with parquet flooring restoration. Regular cleaning using maintenance products, timely minor fixes, and professional refinishing when needed ensure that your floors not only look stunning but also maintain their structural strength.
Every effort you make, whether a small repair or calling in experts, extends the lifespan of your parquet flooring and protects your investment. With the right balance of DIY maintenance and professional support, parquet floors can continue to bring warmth, character, and elegance to your home for generations.
Frequently Asked Questions
How do you stick down parquet flooring?
You stick down parquet flooring using strong flooring adhesive. Apply the glue evenly with a notched trowel, then press each block firmly in place. Use spacers for even gaps if needed, and always follow the pattern design to keep alignment neat. Weigh down sections until the adhesive fully sets.
How do you repair lifting parquet flooring?
Remove the lifted block carefully so it does not break. Scrape off the old glue from both the block and the subfloor. Reapply a fresh layer of parquet adhesive and press the block back. Place a weight on top or use painter’s tape to hold it until the glue dries.
What is the best way to install parquet flooring?
The best method is glue-down installation on a clean, dry, and level subfloor. Start from the centre of the room and work outwards to keep the pattern balanced. Always allow time for the adhesive to cure before walking on the floor. Contacting a professional installation team is recommended for complex designs like herringbone or basketweave.
What glue to use for parquet?
Polyurethane-based adhesives or solvent-based parquet glues are the most reliable because they provide strong, flexible bonding. Avoid water-based glues, as they can cause swelling or movement in the wood.
How to fix gaps in parquet flooring?
For small gaps, apply matching wood filler or a sawdust-and-glue mix for a seamless finish. For bigger gaps or missing pieces, replace the block completely. After repairs, refinishing helps to blend everything together.
How to restore an old parquet floor?
Parquet flooring restoration usually means sanding to remove scratches, repairing or replacing damaged blocks, filling gaps, and applying varnish, oil, or lacquer for protection. This brings back shine and durability. Regular polishing and cleaning afterwards help keep the floor looking new.
Is it worth restoring parquet flooring?
Yes. Parquet is made from solid wood, which can be restored multiple times. Restoration is cheaper than full replacement and can add decades of life to your floor while boosting property value.
How do you restore parquet flooring without sanding?
You can deep-clean using specialised wood floor cleaners, fill cracks with wood filler, and apply floor polish or a liquid restorer. For dull patches, a buffing machine can refresh the finish without removing wood layers.
What is the best filler for parquet floors?
Use a high-quality wood filler that matches your floor colour. For a perfect blend, you can mix sanding dust from your parquet with resin or adhesive. This method ensures the filler looks natural once sealed.
How long do parquet floors last?
Its lifespan depends on wood quality, installation method, and how well it is maintained. Regular cleaning, protective pads under furniture, and occasional refinishing extend its life.

Warm Regards,
Pauline Madani
Founder & Managing Director Nordic Homeworx